
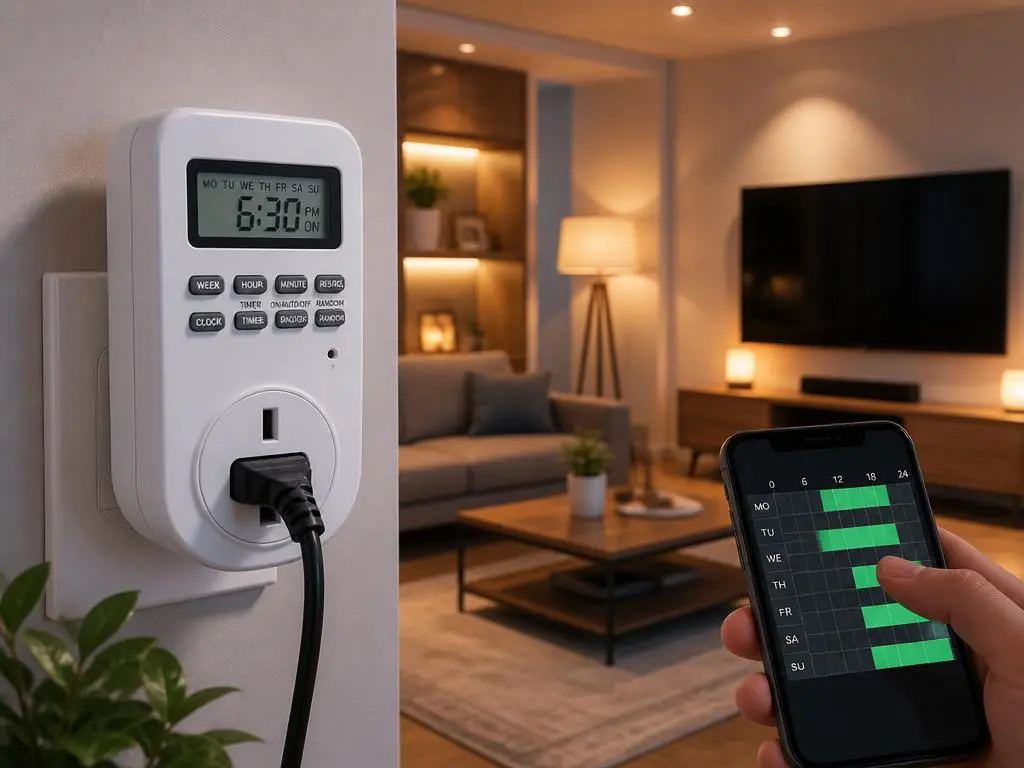
Managing home lighting and electrical devices requires precision, which is why mastering your bn link 7 day timer setup is a game-changer for energy efficiency. Whether you are aiming to secure your property while away or simply want to automate daily routines, understanding the programming logic is essential. By setting specific intervals, you ensure that your appliances operate only when needed, effectively reducing your overall utility costs. Transitioning to smart scheduling allows you to regain control over your environment, providing a seamless experience that caters to your modern lifestyle needs and preferences.
Achieving this level of automation is not only about convenience but also about long-term reliability for your household hardware. Many users struggle with the initial setup, yet the process is intuitive once you grasp the core interface navigation. As you prepare to integrate these units into your space, consider the benefits of a well-organized schedule that aligns with your peak hours. Before we dive into the technical details, remember that maintaining robust cybersecurity is just as crucial as physical home management, especially when dealing with digital safety measures.
💡 Pro tip for beginners
Always perform a manual reset on your device before starting a new programming sequence to ensure all previous settings are fully wiped from the internal memory.
Initial setup and programming your hardware
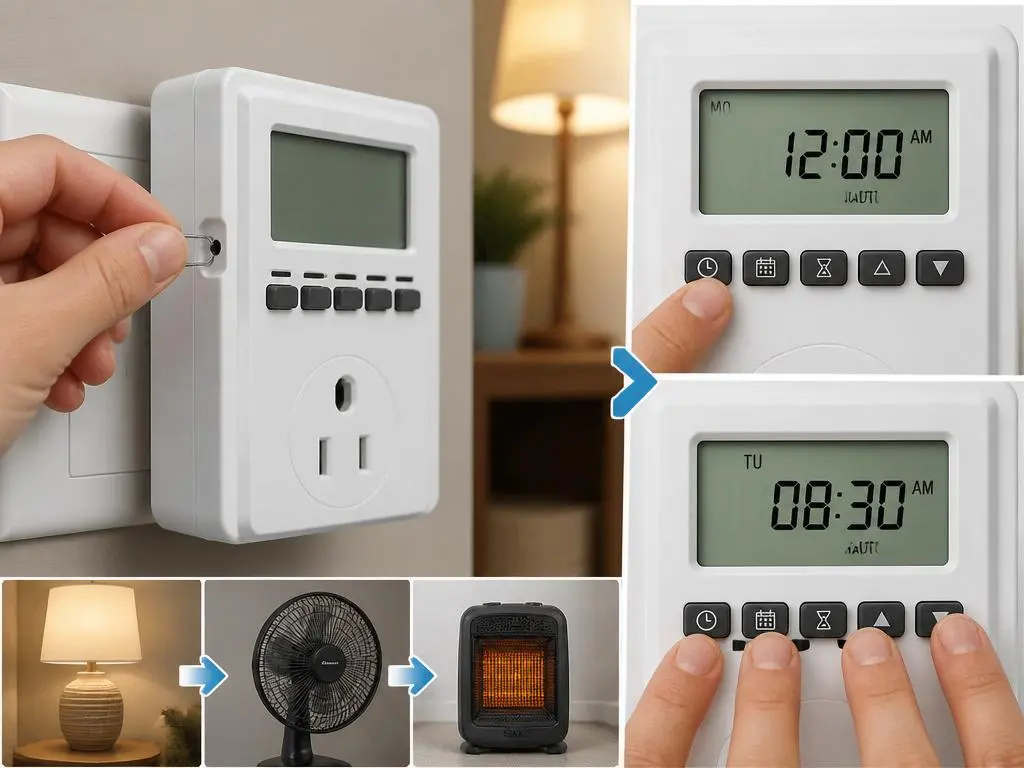
To begin configuring your timer, identify the reset button, usually found in a small hole on the faceplate. Use a paperclip to hold it for several seconds until the screen clears, signifying a successful factory reset. This clears any lingering conflicts from previous configurations, allowing you to establish a fresh, accurate schedule for your connected lamps, fans, or heaters throughout the week.
Once the unit is active, you must set the current day and time to synchronize the internal clock. Press the clock button while simultaneously using the week, hour, and minute keys to input the local data. Accuracy at this stage is vital because the bn link 7 day timer relies on these exact values to execute tasks correctly.
Navigate through the menu using the program button to reveal the first event slot. You will typically see an ON setting followed by an OFF setting. Carefully select the specific days you want this cycle to run, whether it is a daily occurrence or limited to certain weekends, ensuring you maximize your energy usage efficiency daily.
📋 Quick start guide
- Hold the reset button to start fresh.
- Synchronize the internal clock accurately.
- Define your preferred ON/OFF cycles.
- Verify settings in manual mode before use.
Understanding the difference between the random and manual modes will further enhance your experience with the unit. The random feature is particularly useful for vacationers who want to simulate occupancy, making it harder for unauthorized parties to track your absence. Simply press the designated random button to engage this layer of security for your house.
For those who prefer a more customized approach to their gaming setup or office, you might find that security tools help protect your workflow. Managing your energy output via an automated timer is a smart way to preserve the lifespan of your electronic equipment, especially when dealing with high-drain devices that generate excess heat during prolonged operations, such as high-performance console charging stations or advanced cooling systems.
Advanced tips for optimal energy management
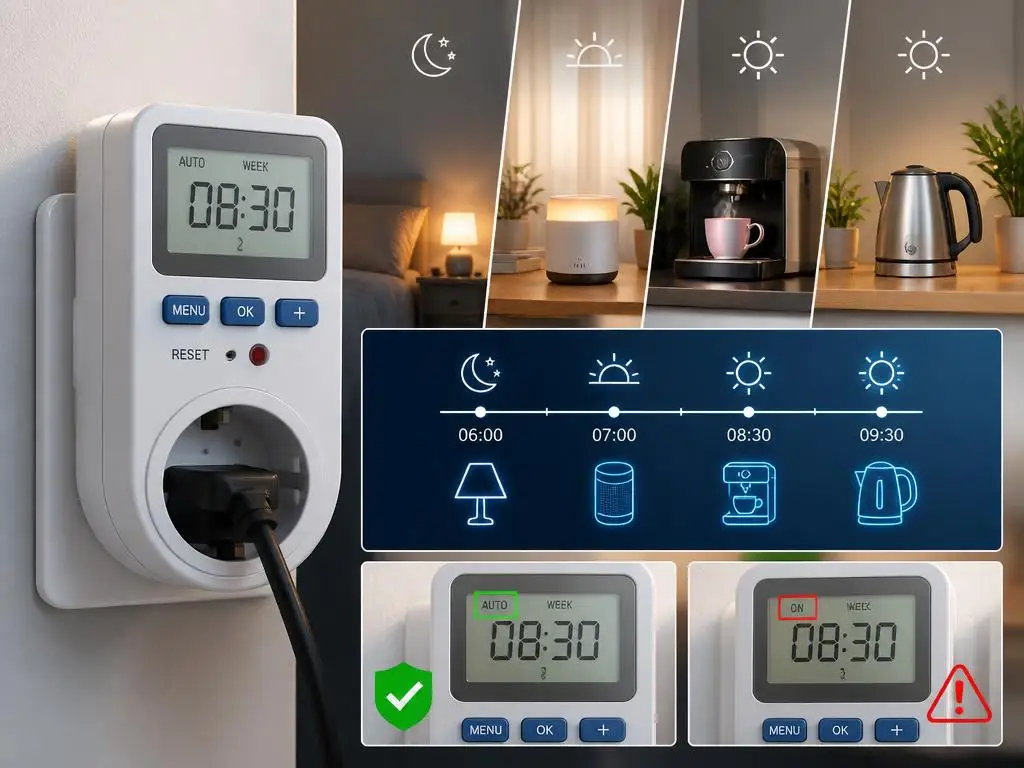
After finalizing your basic schedules, explore the nuances of multiple event programming. Many users are surprised to learn that these units support up to twenty distinct programs. This versatility allows you to create complex routines, such as waking up to soft lights or ensuring that your coffee machine turns off promptly after the morning rush ends.
If you encounter issues where the device does not trigger as expected, check the current mode status on the display. It is common to leave the timer in the wrong setting, such as forced ON instead of Auto. Adjusting this back to Auto mode ensures that the programmed parameters take control over the power delivery output.
⚠️ Common pitfalls to avoid
Do not overlap your programmed events, as this can confuse the logic board of your timer controller and lead to unpredictable power behavior. Always review your list of events at least once a month to ensure the timing remains relevant to your current seasonal needs or changing work-from-home schedule requirements.
For those who love customizing their workspace, you might want to look into an aesthetic controller stand to keep your gear organized. Just as the timer keeps your power consumption disciplined, a proper storage solution keeps your hardware in peak condition. Combining physical organization with electrical automation provides a professional and efficient environment that supports your daily goals without unnecessary manual intervention or oversight of your devices.
Finally, inspect your cables and plugs regularly to prevent any safety hazards while using high-wattage appliances with your timer. Even if you are an expert at configuring the software side, the hardware integrity remains the foundation of your safety. By combining smart scheduling with regular maintenance, you ensure that your investment lasts for many years of reliable performance.
Warning: Never exceed the maximum wattage capacity stated on the back of your unit. Overloading the timer can result in internal damage or even a fire risk, so always verify the power requirements of the appliance you intend to connect to the outlet.
As you expand your collection of smart home hardware, you may eventually look for a DIY controller stand to enhance your gaming zone layout further. Integrating these small improvements is a hallmark of an organized home. Remember that every small step toward automation helps save money on energy bills and provides peace of mind, knowing that your household runs exactly as you intended throughout the entire week without constant manual adjustments to your wall-mounted electrical devices.
The beauty of this system lies in its ability to adapt to your specific needs over time. Should your schedule change, you do not need to replace your hardware; simply update the program slots to reflect your new timeline. This flexibility is why so many households rely on these robust digital units to manage their electrical loads. Keep these instructions handy, and you will find that managing your power usage becomes a natural part of your weekly routine, leaving you more time for the activities you truly enjoy every single day.
