
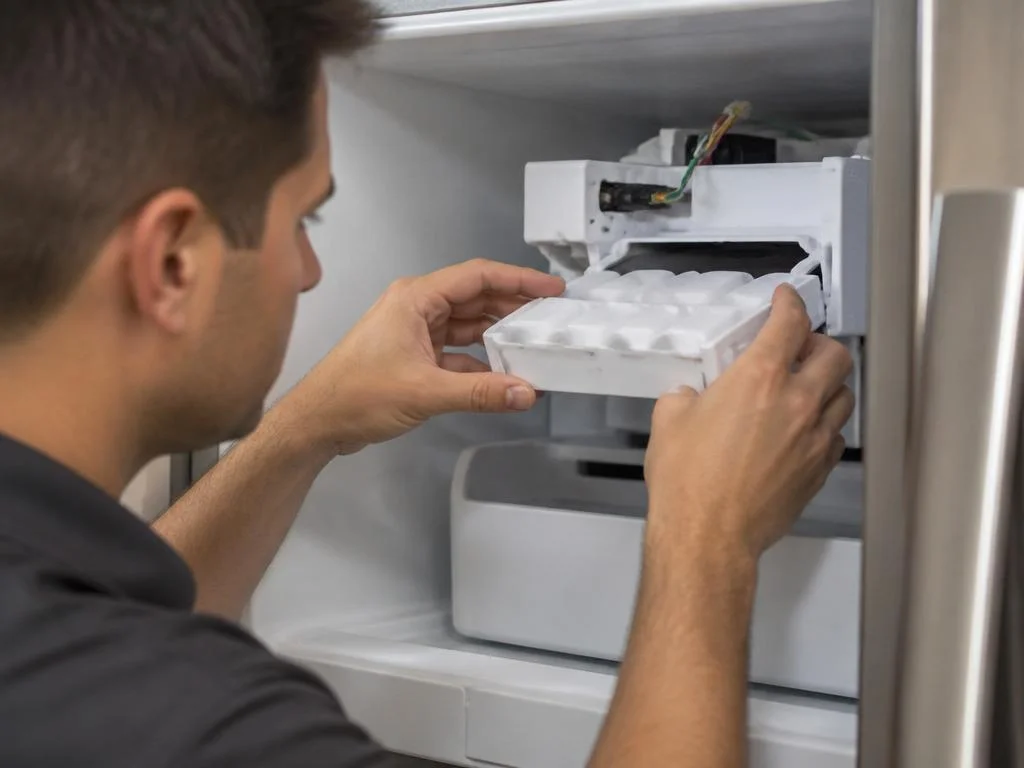
Dealing with a malfunctioning appliance can be frustrating, especially when you depend on a constant supply of ice. A Frigidaire ice maker tray replacement is often necessary when the plastic mold cracks or becomes coated in mineral deposits that prevent cubes from releasing properly. Before deciding to replace the entire unit, it is helpful to inspect the specific component responsible for the ice formation. Many homeowners find that simple maintenance or a targeted part swap restores the functionality of their kitchen appliance without requiring a professional technician or a complete system overhaul.
Understanding the internal mechanics of your refrigeration unit is the first step toward a successful repair. If you notice leaks, irregular ice shapes, or slow production, the tray itself might be the primary culprit behind the issue. By following methodical steps and ensuring the power is disconnected, you can safely swap out the damaged part. Proper preparation and the right replacement components are essential for achieving a long-lasting fix. In the following sections, we will explore the diagnostic signs and the technical process required to restore your ice production system to its original performance.
Signs your ice tray needs attention
The first indicator that you require a Frigidaire ice maker tray replacement is visible damage to the mold surface. Over time, plastic can become brittle due to constant temperature fluctuations inside the freezer. If you see cracks, pitting, or severe discoloration, the ice will likely stick to the surface rather than dropping into the collection bin. Additionally, if the ejector fingers are scraping against exposed plastic, it is a clear sign that the integrity of the tray has been compromised beyond simple cleaning or minor maintenance efforts.
Mineral buildup is another common factor that leads to performance degradation. If you live in an area with hard water, calcium deposits can accumulate on the surface of the mold, creating a rough texture that resists release. While some users attempt to soak the tray in vinegar solutions, severe scaling often permanently alters the non-stick properties of the material. When deep cleaning fails to improve ice quality, swapping the tray remains the most reliable solution. Always verify that you are ordering the exact part compatible with your specific model number for a perfect fit.
Once you identify that the component is indeed failing, the next logical step is gathering the necessary tools. Most modern units require little more than a screwdriver and perhaps a set of needle-nose pliers. Before starting any work, ensure you have unplugged the appliance to avoid any electrical hazards. Taking the time to organize your workspace will prevent the loss of small mounting screws. If you are also interested in optimizing other home systems, you might consider reading more about factors influencing the top speed of your transport equipment to manage your household maintenance more effectively.
Preparation and safety precautions
Safety is paramount when working with household appliances. Always ensure the water supply line is turned off to prevent accidental flooding during the disassembly process. A clear, well-lit workspace is vital for identifying hidden fasteners. If you find the process complex, remember that a steady hand and patience will prevent damage to the surrounding wiring or sensitive sensors within the assembly. Using a soft towel inside the freezer can protect your fingers and provide a cushioned surface for the replacement parts during the installation phase of your repair.
Removing the old tray involves releasing the tension on the mounting brackets. Most models utilize a series of clips or screws that hold the mold in place against the cooling coils. Carefully slide the tray out of its track, noting the orientation of the wiring harness. It is highly recommended to take a photograph of the current configuration before disconnecting anything. This visual reference serves as a perfect guide when you begin the reassembly, ensuring that every wire and mechanical linkage returns to its factory-designed position for smooth, automated operation later.
After the old component is removed, inspect the internal housing for any leftover debris or ice chips. Clean the area thoroughly with a dry cloth, as moisture in the wrong places can cause electrical shorts or freezing issues. Installing the new tray requires aligning the drive gear correctly with the ejector motor. Ensure the component snaps firmly into place and all mounting screws are tightened to the manufacturer specifications. This attention to detail guarantees that the unit will operate quietly and produce ice without mechanical binding or common alignment errors.
Troubleshooting common installation issues
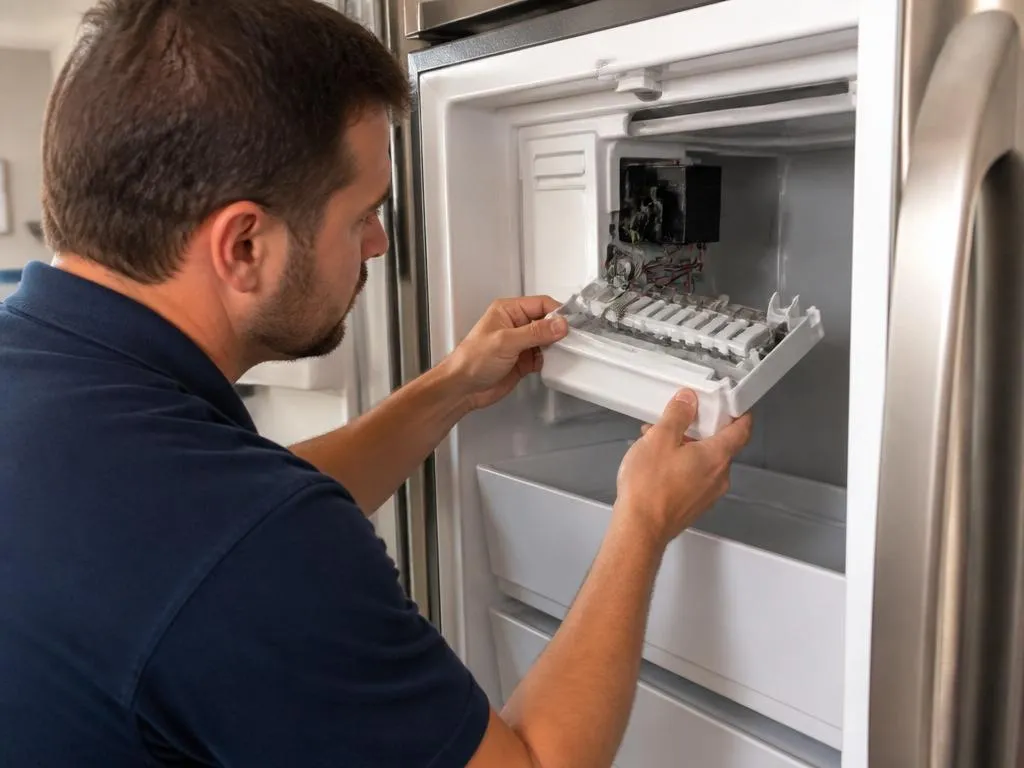
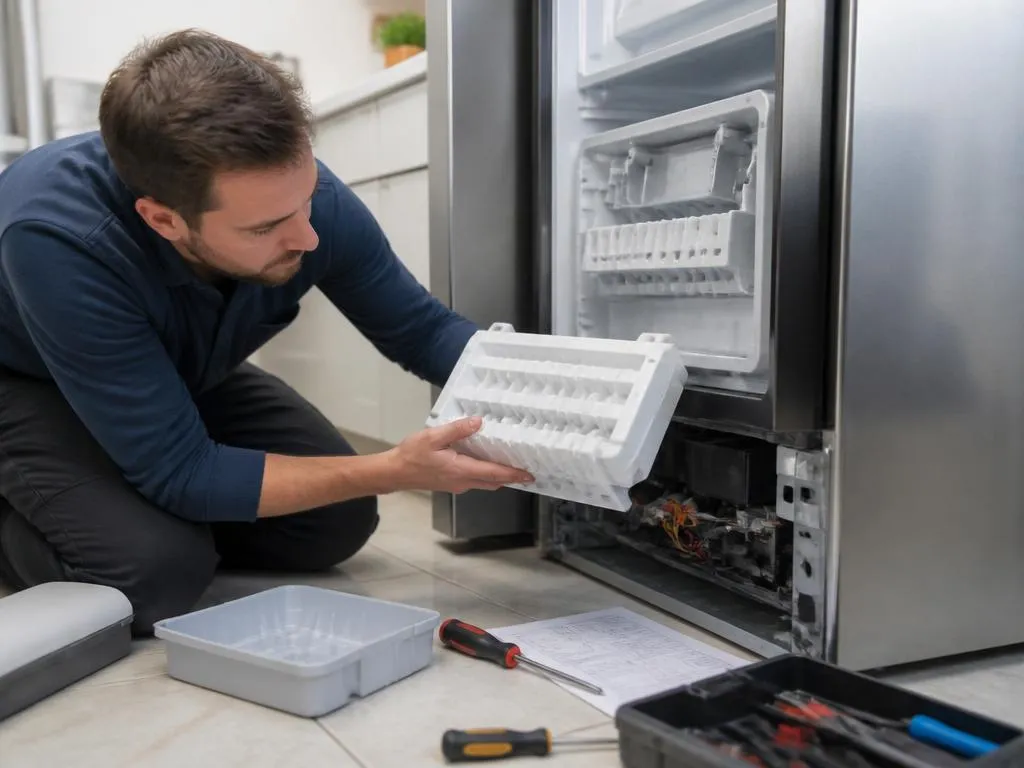
Even after a successful Frigidaire ice maker tray replacement, you may encounter minor initial challenges. For instance, the system may take several hours to reach the optimal temperature for the first cycle. If the tray fails to cycle, double-check the connection of the wiring harness. Often, a loose plug is the reason for a non-responsive motor. Patience is required, as the water inlet valve must also be primed. If you continue to face technical hurdles, looking into broader maintenance strategies, such as how to unlock growth with a professional approach to troubleshooting, can sometimes provide valuable insights for complex mechanical problems.
Proper calibration is essential for the longevity of your new part. Observe the first few cycles closely to ensure the water level is consistent and the cube size is uniform. If the water fills too high, it might suggest that the inlet timing needs adjustment or that the sensor is misaligned. Adjustments should be made in small increments. By monitoring the performance during the first week, you can catch minor issues before they lead to premature wear of the drive gears or the motor assembly, protecting your investment for years to come.
Maintaining a high-quality ice output depends on the overall health of your refrigerator system. If your ice production seems sluggish despite the new tray, check the water filter and the freezer temperature settings. A temperature slightly above the ideal range will lead to slow freezing and sticking cubes. Keeping the unit clear of clutter and ensuring proper airflow around the cooling coils will assist the machine in maintaining its efficiency. Consistency in these small habits ensures that your ice maker continues to perform at its peak without requiring further interventions for a long period.
When to call a professional technician
While DIY repairs are rewarding, some issues fall outside the scope of a simple component swap. If you detect burning smells, see frayed wires, or notice sparks, stop your work immediately and contact a certified professional. Electrical faults are dangerous and require specialized equipment to diagnose safely. Furthermore, if the replacement does not resolve the symptoms, there may be an underlying problem with the control board or the main thermostat, which often requires a more comprehensive diagnostic approach than a standard consumer level repair can provide.
Regular maintenance is the best practice for avoiding future failures. Periodically checking the tray for buildup and ensuring that the bin is not overfilled can prevent mechanical strain. If you notice that your appliance struggles to perform in other areas, such as maintaining cooling consistency, it might be time for a professional assessment of the entire system. Understanding your equipment capabilities is similar to knowing the potential of a high-performance machine; knowing its limits allows you to manage expectations and plan for professional maintenance before a total failure occurs in your kitchen environment.
To deepen your understanding of mechanical efficiency, you might want to look at what is the real top speed of advanced motors to grasp how load and heat influence longevity. Just as a motor must be maintained to reach its peak, your ice maker requires the correct operating conditions to function perfectly. By balancing DIY skill with the awareness of when to consult a specialist, you ensure that your appliances serve your household reliably. Taking these proactive steps will ultimately save you time and money on major repairs in the long run.
