
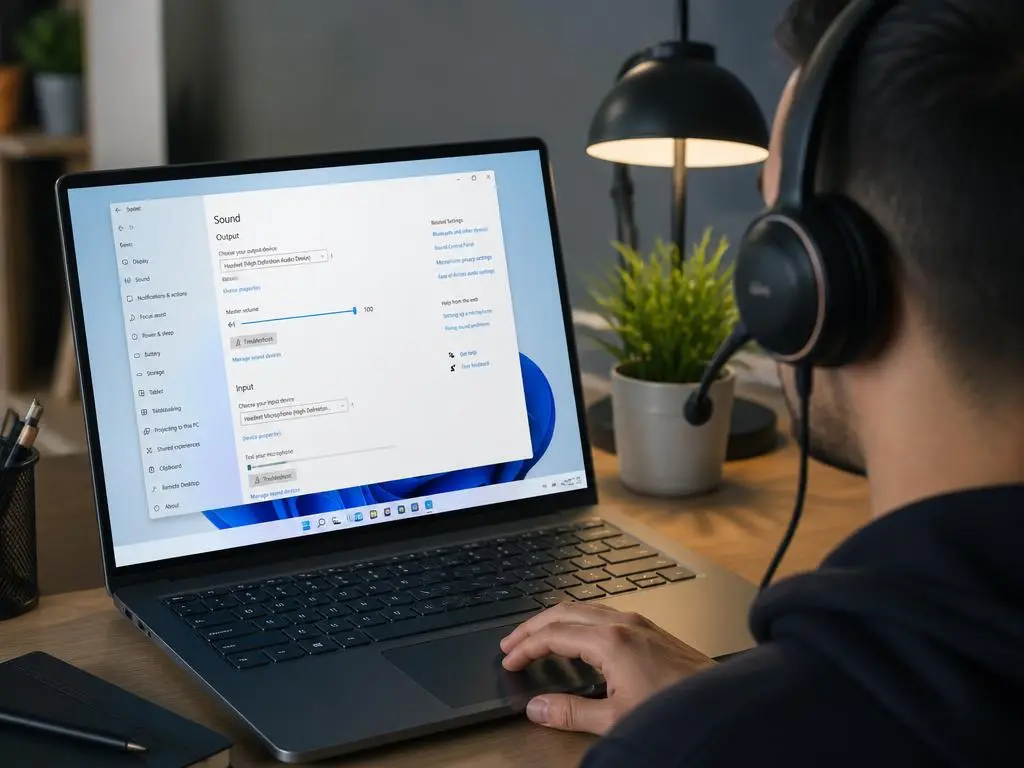
Understanding how to change headphones to headset windows 11 settings is essential for users who frequently switch between different audio devices. Many people plug in their hardware and assume the system will automatically configure every component, including the integrated microphone. However, the operating system occasionally misidentifies the device, leading to a situation where you can hear audio but nobody can hear you. By accessing the sound control panel, you can ensure that your computer correctly recognizes your hardware as a complete communication device, allowing for seamless transition between listening and interactive voice recording tasks.
If you have recently noticed that your sound output works perfectly but your microphone remains completely silent during calls, you are likely facing a device mapping issue. Navigating through the modern interface or the classic legacy menus allows you to manually force Windows to prioritize your headset over default system hardware. This guide provides clear instructions to help you fix common connectivity problems and improve your overall audio experience. Mastering these simple configuration steps ensures that your setup remains reliable for gaming, professional conferencing, and daily multimedia consumption throughout your entire computing workflow.
💡 Quick Setup Tip
Before adjusting any software settings, always verify that your physical connection is secure. Many headsets use a single TRRS jack, while some computers feature separate ports for audio and mic. Ensure your cable is fully inserted into the combo port to allow the system to detect the microphone input immediately upon connection.
Configuring audio input and output devices
The primary way to manage your hardware is through the dedicated settings menu. Start by opening the Start menu and selecting the gear icon to launch the main panel. Navigate to the System tab and click on Sound to view your current list of active inputs and outputs. Here, you should see both your speakers and your headset listed as individual entities that you can select for specific tasks throughout your Windows session.
Within the output section, identify your headset and select it as the default playback device to ensure game or meeting audio flows correctly. Then, scroll down to the input section to confirm the system is pulling data from your headset microphone rather than a built-in laptop mic. This selection is crucial for maintaining audio clarity during professional video meetings or intense gaming matches where background noise must be minimized effectively by your hardware.
Resolving device recognition issues
Sometimes, the operating system might group your headset under generic drivers, which prevents the microphone from activating correctly. If the basic settings do not work, you should open the Sound Control Panel by searching for it in the Taskbar. Once this classic window appears, look at the Playback and Recording tabs to see if your device is listed or disabled. Enabling these devices manually often forces the computer to recognize the full capabilities of your audio hardware immediately.
If the device remains invisible, you may need to check your privacy permissions in the main settings. Windows often blocks applications from accessing microphones for security reasons, which can be mistaken for a hardware failure. Ensure that the toggle for microphone access is set to On for all desktop applications. This simple adjustment often resolves connectivity issues that appear to be driver-related but are actually governed by system-wide security policies designed to protect your personal user data.
⚠️ Troubleshooting Warning
Do not attempt to install third-party driver software from unverified websites if your headset does not appear. Most modern devices are plug-and-play and use standard Windows drivers. Installing unofficial software can create system instability and introduce security vulnerabilities that are difficult to remove once they are integrated into your core system files.
Updating your system drivers for better compatibility
Maintaining current drivers is a vital part of knowing how to change headphones to headset windows 11 efficiently. Right-click the Start button and select Device Manager to inspect your current audio stack. Expand the section for Sound, video and game controllers and locate your specific headset model. If you see a yellow exclamation mark, right-click the item and select Update driver to fetch the latest files directly from the manufacturer or Microsoft servers.
For users with specialized gaming headsets, manufacturers often provide dedicated software suites that handle routing and profile settings automatically. If Windows cannot identify your device properly, installing this proprietary software is often the best solution. These applications provide deep access to your hardware, allowing you to fine-tune signal levels and ensure that the system treats your headset as a high-fidelity communication device rather than a generic pair of output headphones.
Advanced management of sound profiles
If you switch between different setups frequently, using the Volume Mixer is an excellent way to manage active applications. Once your headset is recognized, you can designate it as the primary device for communication apps like Teams or Discord while keeping system sounds on your speakers. This level of customization ensures that your audio experience remains balanced and tailored to your specific needs throughout the day, preventing unwanted interruptions during your most important tasks.
Furthermore, checking your sample rate settings can significantly improve the quality of your voice recordings. Navigate to the device properties in the sound settings and ensure the format is set to a high-quality standard. High-quality settings prevent audio clipping and digital distortion during conversations. This professional configuration step guarantees that your voice sounds clear and natural to other participants, which is essential for high-stakes professional environments or streaming content creation projects online.
✅ Pro Audio Checklist
- Confirm your headset is selected in the sound control panel.
- Check the microphone privacy settings for all communication apps.
- Ensure physical connections are clean and fully inserted into ports.
- Update your audio drivers via the Windows Device Manager utility.
- Test your microphone levels using the built-in system sound tester.
Testing your new communication setup
Once you have configured everything, performing a quick test is the final step in the process. Use the built-in Windows sound recorder application to verify that your voice is being captured with sufficient volume and clarity. This test prevents potential embarrassment during live calls and confirms that your hardware is correctly configured as a headset rather than standard output headphones. If the levels are too low, adjust the gain sliders located within the input properties menu to achieve optimal signal strength.
If you still encounter issues, try restarting your computer after finalizing your configuration changes. A reboot refreshes the hardware state and forces the system to re-initialize all peripherals, which often fixes lingering driver bugs. By following these structured steps, you will become proficient at managing your audio environment. This knowledge allows you to troubleshoot almost any audio configuration problem, ensuring that you can focus on your work or entertainment without technical distractions interfering with your performance or your enjoyment of high-quality digital audio.
Summary of Configuration Steps
You have learned that switching devices requires attention to both output and input tabs. By manually overriding default settings and checking privacy permissions, you can stabilize your setup. Keeping drivers updated and using manufacturer software ensures long-term compatibility for your communication hardware. These habits will save you time and provide a consistent, high-quality audio experience every time you sit down at your desk to begin your productive day.
