
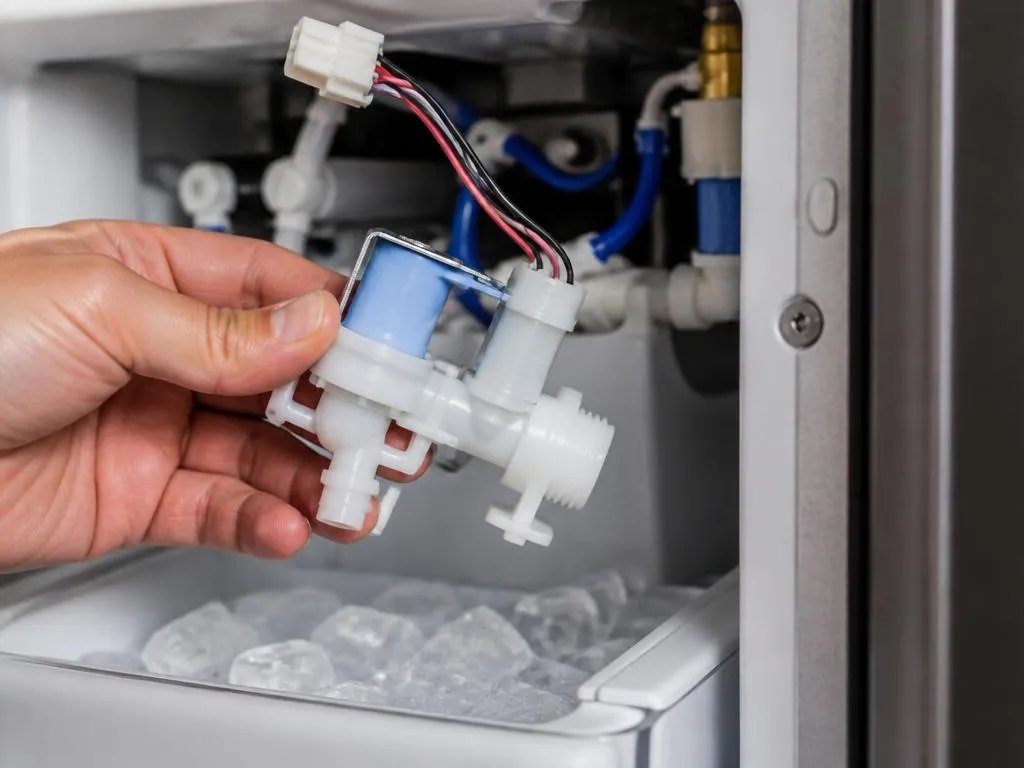
When your refrigerator stops producing ice, the culprit is often a faulty water valve for ice maker components. This electromagnetic device acts as the gatekeeper for your appliance, regulating the flow of water needed to create perfect cubes. If this part fails, the entire system grinds to a halt, leaving you with empty trays and warm beverages. Understanding how this assembly functions is the first step toward restoring your kitchen’s convenience. By identifying the signs of a mechanical failure early, you can often save yourself from costly repair bills and unnecessary service appointments by managing the issue independently.
Many homeowners assume that a lack of ice signifies a broken motor, but a restricted supply is usually the real offender. A clogged or damaged solenoid often prevents the unit from receiving the necessary pressure. Whether you are troubleshooting flow rates or preparing for a full replacement, knowing the signs of a failing component ensures your machine remains efficient. This guide explores the technical aspects of these essential valves, helping you maintain your premium cooling equipment with confidence and precision through simple maintenance routines and expert diagnostics.
Understanding how the water valve for ice maker operates
The system operates using a solenoid that receives an electrical signal when the controller determines it is time for a refill. Once energized, the coil opens a small plunger, allowing household water pressure to enter the supply line. Over time, mineral deposits from your local water source can build up inside this mechanism, leading to restricted flow or complete blockage. Regular cleaning of the screen filter is essential, as debris is the most common cause of premature valve failure in standard residential refrigeration units and commercial systems.
If you notice the ice maker is not filling but the water dispenser still works, the fault likely lies in a secondary valve dedicated solely to the icemaker unit. Inspecting the voltage across the terminals can confirm if the electrical signal is reaching the solenoid as expected. If power is present but no water flows, the mechanical component itself is almost certainly seized or broken internally. Always ensure the supply line is not kinked behind the appliance before concluding that the hardware requires a full replacement or a professional maintenance visit.
💡 Quick Diagnostic Tips
- • Verify that the water shut-off valve is fully open behind the fridge.
- • Listen for a distinct clicking sound when the unit calls for a refill.
- • Inspect the plastic supply tubing for any visible cracks or pinhole leaks.
- • Check for frozen water lines that might prevent fluid from entering the mold.
Identifying signs of a failing inlet valve
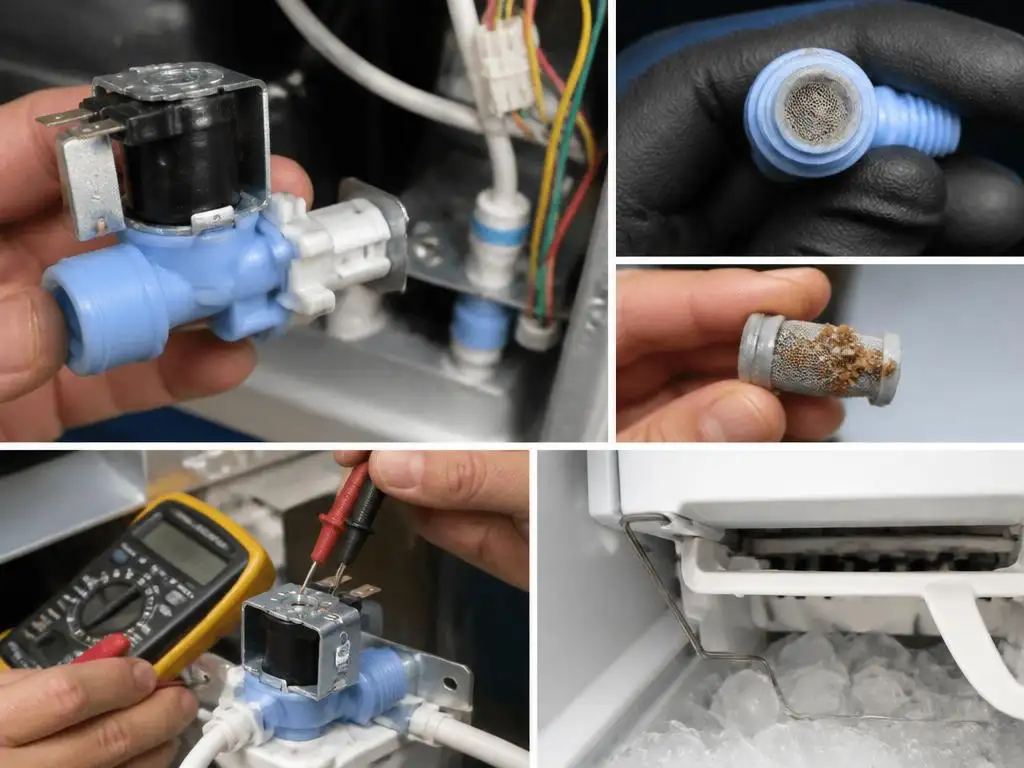
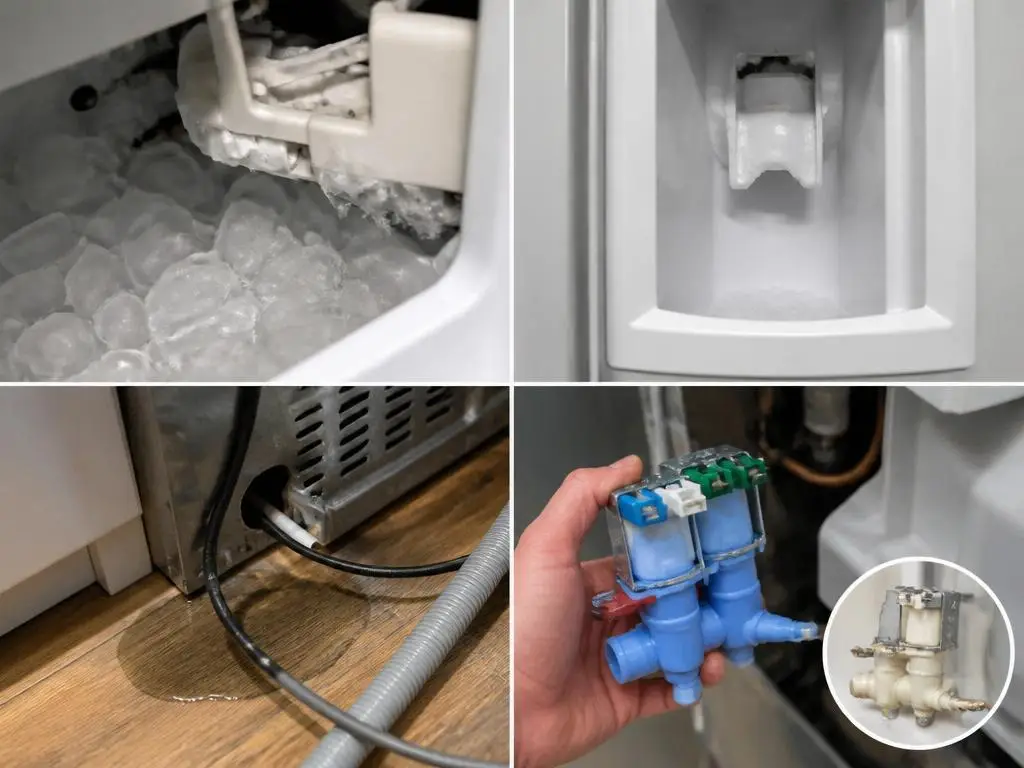
A failing valve often presents as a slow-filling ice mold, resulting in small, misshapen cubes. When the internal diaphragm loses its flexibility, it may not close properly, leading to slow drips that cause clumping in the bin. If you see ice forming around the internal components of the dispenser, it is a clear indicator that the water valve for ice maker integrity has been compromised by seal degradation or scale buildup over the years.
Persistent leaks behind your appliance can cause significant floor damage if left unaddressed for too long. If you find puddles near the back panel, shut off the main water source immediately to prevent further interior cabinet damage. Many users find the right solution by researching the optimal system configuration for their household needs. Once you have confirmed a leak, replacing the valve is usually more cost-effective than attempting to patch the existing plastic housing, which rarely provides a permanent solution against high-pressure leaks.
Steps for replacing your inlet valve assembly
Before beginning any repair, safety is paramount. Always unplug the refrigerator and turn off the water supply line to prevent electrical shocks or flooding. Locate the valve, which is typically found at the base of the unit, protected by a rear access panel. Take a photograph of the current wiring and tube configuration to simplify the reassembly process. Using the correct tools, remove the mounting screws and disconnect the lines, being prepared for a small amount of residual water to escape once the connections are loosened.
Installing the new unit follows the reverse order of removal. Ensure that every connection is tightened securely, as even a minor gap can cause a pressurized leak. If your home is in a high-density area, you might consider how specialized consulting services can help you source parts or professionals for complex repairs. Once installed, restore the water supply and check for leaks before reconnecting the power. Testing the cycle multiple times confirms that the new component is functioning correctly and providing a steady flow to the ice mold assembly.
🛡️ Maintenance Best Practices
Routine maintenance prevents unexpected downtime. Periodically check your water filter, as clogs here put added strain on the solenoid. If you are navigating a business environment, you might be interested in modern office infrastructure setups that include integrated hydration systems. Keeping these systems clean ensures that your inlet assembly remains free from sediment, extending the lifespan of your appliance and ensuring that your ice production remains consistent throughout the year, even during peak summer months when demand for cold refreshments is at its absolute highest point for your staff.
Troubleshooting common electrical valve issues
If your appliance refuses to pull water after a valve replacement, the issue may be electrical. Check the harness connectors for any signs of corrosion or burnt contacts. Sometimes, a faulty control board fails to send the necessary signal, meaning the solenoid control remains inactive despite being brand new. In such cases, a multimeter can confirm if the board is firing the signal correctly, saving you from replacing parts that are actually in working order but simply lack the required electrical trigger to open their gates.
Occasionally, the issue is related to a water supply obstruction rather than the valve itself. Ensure that your home’s water pressure is within the manufacturer’s specified range. If you have recently performed plumbing work, air bubbles may be trapped in the line, causing the valve to chatter or sputter. Purging the line by running the water dispenser for several minutes usually clears trapped air, allowing the valve to seat properly and function with the consistent pressure required to trigger the ice production sequence accurately and efficiently.
⚠️ Critical Safety Warning
Never attempt to service electrical components with the power connected. Ensure your hands are dry and you are working on a stable surface. If you are uncomfortable dealing with high-pressure water lines or electrical circuitry, it is highly recommended that you contact a certified technician to handle the installation to avoid potential water damage or accidental injury during the process.
Maintaining your appliance requires diligence and the right information. By understanding the function of the inlet valve, you empower yourself to diagnose and resolve issues before they escalate. Whether you are dealing with a simple clog or a total mechanical failure, the steps provided here serve as a robust foundation for keeping your system operational. Remember that preventive care—such as changing your water filter on a strict schedule—is the most effective way to avoid the inconvenience of a non-functional ice maker. Stay proactive, keep your connections tight, and enjoy the convenience of a reliable cooling system.
