
News
Fixing windows 11 setup install driver to display hardware errors
Jul
Upgrading your operating system can sometimes lead to unexpected visual errors that halt your progress. When you run into a blank screen, learning how to configure a windows 11 setup install driver to display hardware becomes essential. Resolving these graphics card issues during installation requires understanding how your system detects new display adapters.
Standard setups usually handle graphic configurations automatically, but outdated firmware often causes major system conflicts. This article explores practical methods to override default display installations and restore your screen resolution. Read on to discover the exact techniques that will fix your screen display issues and complete your OS installation smoothly.
Why the windows 11 setup install driver to display hardware fails
Operating system installations rely heavily on generic drivers to render the initial user interface. If your graphic card lacks basic compatibility, the setup process might freeze or show a distorted screen. This issue happens because the installer cannot communicate with modern graphics cards without specific software instructions from the manufacturer.
Another common cause is outdated motherboard firmware which struggles to recognize the primary PCI Express slot. When this communication barrier occurs, the OS defaults to a basic rendering mode that might fail entirely. Identifying these hardware limitations early helps you choose the correct installation path without losing critical configuration data.
Furthermore, dual-graphics laptops frequently experience conflicts when switching between integrated and dedicated display units. The installation medium might attempt to load files for both systems simultaneously, causing an immediate crash. Disabling one of the graphics adapters in your BIOS settings before beginning the installation often solves this frustrating hardware loop.
Finally, corrupted installation media can omit crucial generic display profiles needed for the initial boot phase. If your USB drive has bad sectors, the setup wizard cannot copy the necessary display configuration files. Re-creating the bootable media with official tools guarantees that all required display resources are available during setup.
ℹ️ Quick Diagnostics Summary
Display issues during installation are usually caused by driver incompatibility, outdated motherboard BIOS, or conflicting dual-GPU hardware setups. Simplifying your setup remains the best first step.
Step-by-step troubleshooting for graphic adapter installation
When your display goes dark during the installation phase, you must force the system to boot safely. Utilizing temporary administrative environments allows you to load basic display files and complete the setup without visual interruptions. This approach bypasses advanced graphics features, ensuring your monitor receives a stable signal throughout the entire setup.
First, shut down your computer completely and remove all non-essential external devices like secondary monitors or drives. Keeping only your primary display connected minimizes the chance of driver allocation errors during the boot sequence. Restarting the system after simplifying your hardware layout often allows the generic video driver to load successfully.
If the screen remains blank, you may need to access diagnostic menus to modify display settings manually. If you are troubleshooting older operating systems, you might need to restart Windows 8 to fix persistent rendering issues. Applying similar recovery methods during the setup process of modern platforms helps isolate driver conflicts.
Once inside the recovery console, you can select low-resolution video mode to bypass advanced graphic demands. This setting forces the system to use a universal display standard supported by almost every modern monitor. From this point, you can safely navigate the operating system to apply specific manufacturing updates without crashes.
Using basic display drivers during setup
The standard Microsoft basic display adapter acts as a temporary bridge during the initial operating system setup. While this generic driver lacks gaming performance, it provides the stable visualization needed to complete your system configuration. Relying on this basic layout ensures that your hardware does not crash before you install official software.
To force this generic mode, you can modify boot parameters within your system configuration utility before updating. This technique prevents the operating system from searching for advanced hardware profiles until you initiate the command yourself. Consequently, your monitor maintains a continuous signal, avoiding the dreaded black screen during critical installation phases.
Keep in mind that generic video outputs limit your screen resolution and refresh rates quite significantly. This reduction in quality is entirely normal and should not cause concern during the initial setup phase. Once the core system files are fully written, updating to specialized software will immediately restore your display performance.
💡 Pro Tip: Force Basic Video Driver Mode
If your system fails to boot with standard visuals, always try booting into low-resolution mode first. This forces generic compatibility, allowing you to bypass hardware locks.
How to windows 11 setup install driver to display hardware manually
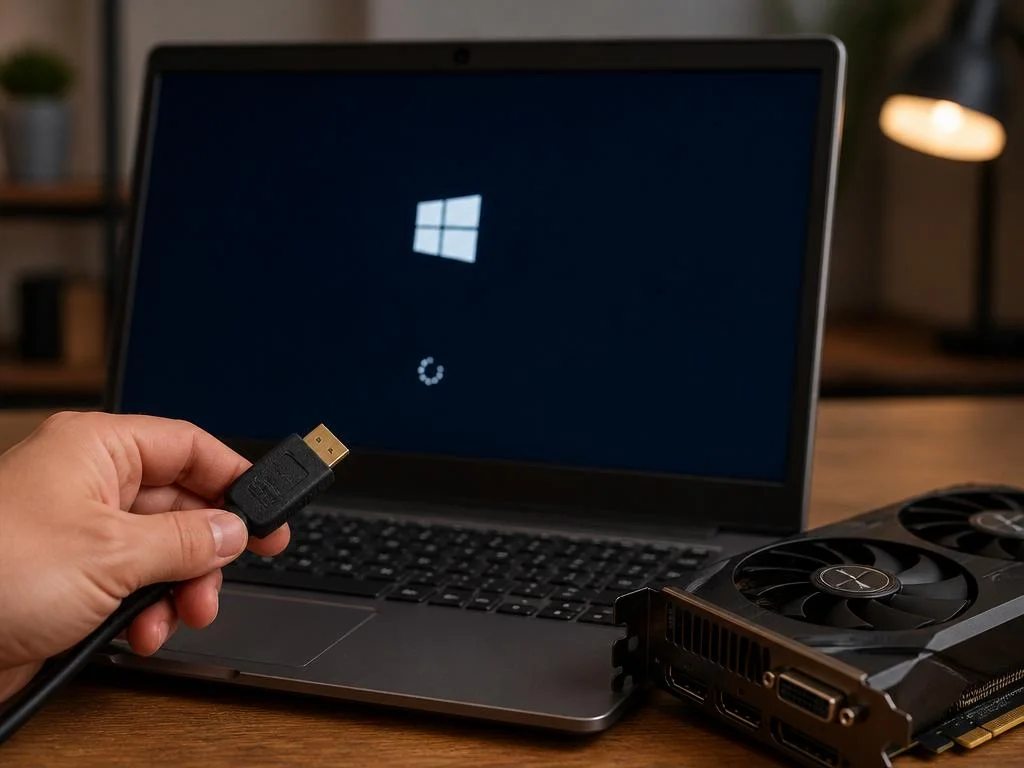
If the installer cannot locate a compatible video card, you must provide the necessary files manually. You can achieve this by downloading the official drivers onto a separate USB flash drive before starting. This preparation ensures you have direct access to the required controller files when the installer requests them.
When the installation screen asks where you want to install the operating system, look for the load driver option. Clicking this button allows you to browse external storage devices to locate the specific display files you prepared. Selecting the correct folder prompts the wizard to integrate the display software into the boot process.
Ensure you extract the downloaded setup files, as the installer cannot read zipped or compressed folders directly. The wizard specifically searches for information files containing configuration instructions for your display hardware adapter. Once loaded, your monitor should refresh, displaying the setup interface with correct colors and proper scaling options.
Using a windows 11 setup install driver to display hardware strategy ensures that your high-end graphics card works correctly from the very first boot. This proactive approach prevents post-installation display failures that often require complex safe mode troubleshooting to fix. Your system will immediately utilize the full capabilities of your modern graphic processing unit.
Resolving black screen bugs on modern monitors
High-definition monitors often fail to display images during system installations due to unresolved refresh rate mismatches. If your display operates at high refresh rates, the basic installer might output an unsupported video signal. Adjusting your monitor settings to a standard sixty hertz before starting the setup prevents this communication error.
Connection cables also play a massive role in visual display errors during major operating system updates. Switching from a DisplayPort cable to an older HDMI connection often helps the installer recognize the monitor correctly. Once you install the official graphic drivers, you can easily switch back to your preferred high-speed connection.
Sometimes, your system might incorrectly route the video signal to an unused output on your graphics card. If you have multiple video ports, try moving the cable to a different slot while the computer is running. This action forces the hardware to redetect connected screens, often restoring the visual interface immediately.
Additionally, modern displays feature smart energy-saving modes that might put the screen to sleep during long installation pauses. If the display does not wake up when you move the mouse, try turning the monitor off and on. This manual power cycle forces the display controller to re-establish a hand-shake with your graphics card.
✅ Essential Checklist for Blank Screens
- Disconnect secondary monitors and non-essential peripherals.
- Switch connection cables from DisplayPort to HDMI if possible.
- Manually power cycle your monitor to force a connection handshake.
- Set your display refresh rate to 60Hz prior to beginning the setup.
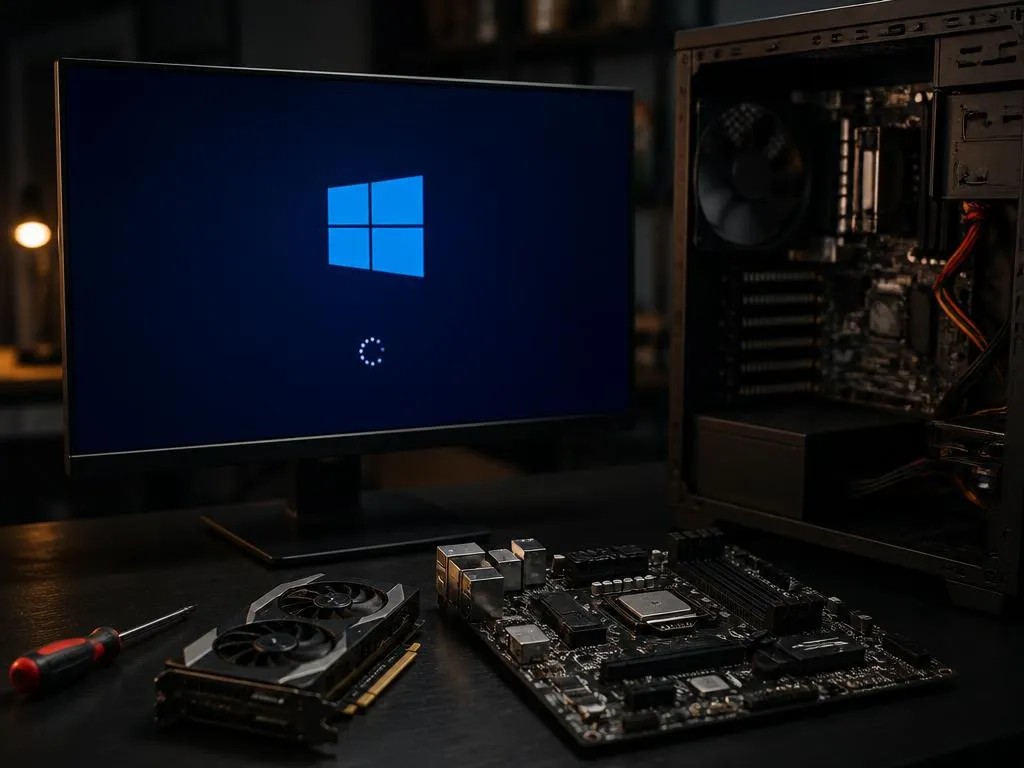
Advanced driver integration using command prompt
Advanced users can inject graphic controllers directly into the installation media using deployment image servicing tools. This command-line approach guarantees that your operating system has access to the correct display files before booting. It eliminates the need to manually load files during the graphical phase of the installation process.
To begin, you must mount the main installation image using administrative privileges on a functional computer system. Once mounted, you can utilize specific command lines to add your graphics driver packages directly into the image. This process ensures the operating system automatically configures your display hardware during the initial installation phase.
This deployment methodology is highly beneficial for corporate environments deploying multiple machines with identical hardware configurations. Just as marketers analyze platforms for Snapchat digital advertising to optimize performance, IT specialists must prepare deployment images to maximize hardware efficiency. Having the correct display controllers pre-installed saves hours of post-deployment troubleshooting.
Once the drivers are successfully injected, you must unmount the image and save the changes to your USB. Booting from this modified media ensures a flawless setup experience, free from display failures or resolution issues. Your display hardware will function perfectly from the moment the installer starts copying files.
Preventing future monitor controller conflicts
After completing the installation, you must configure your update settings to prevent automatic driver overrides. Sometimes, standard operating system updates replace your working graphics controller with older generic versions, causing sudden screen flickering. Setting your system to prioritize official manufacturer software ensures continuous display stability and optimal performance.
Utilizing dedicated driver management utilities from your card manufacturer helps keep your display files updated without system conflicts. These applications verify file compatibility before applying updates, reducing the risk of sudden black screens during gameplay. Regular updates also patch security vulnerabilities and optimize rendering paths for newer software releases.
Furthermore, creating regular system restore points allows you to revert problematic display updates within seconds. If a new display controller causes system instability, you can easily restore your previous configuration without losing files. This safety net is crucial for maintaining a reliable workstation for daily productivity or entertainment.
Understanding your system architecture also helps when optimizing online platforms or configuring advanced hardware systems. For instance, global tech optimization is similar to SEO in Chinese markets, where adapting to localized structures ensures seamless digital performance. Applying precise driver configurations ensures your display hardware matches your operating system requirements.
| Driver Strategy | Pros | Cons |
|---|---|---|
| Generic Driver | High compatibility, stable boots | Limited resolution, poor performance |
| Manual Integration | Immediate full GPU features | Requires pre-downloaded files |
Troubleshooting display driver errors after windows setup
Once the initial setup is complete, you might still encounter performance lags if the graphics controller is misconfigured. In many cases, the Device Manager will display an error code next to your video card entry. Resolving these post-setup errors requires manually updating the software or rolling back to a previous stable state.
To fix these errors, open the Device Manager and locate the display adapters section on your computer. Right-click your graphic processing unit and select update driver to let your system search online for files. This automated process often resolves basic rendering bugs without requiring manual file downloads from third-party sites.
If the automated search fails, you should uninstall the current display adapter completely from your system. Removing the faulty driver forces your computer to fall back on basic display files upon restarting. This clean state allows you to install the official manufacturer utility without conflicting file fragments causing system errors.
Another effective method is using third-party utility tools designed to clean old graphics software remnants completely. These specialized tools run in safe mode, erasing all registry entries associated with previous display configurations. Starting with a blank canvas ensures that your new display controller installation completes without any background interference.
Optimizing graphics performance on windows 11
Once your display hardware functions correctly, you can optimize advanced graphics settings for better visual rendering quality. Windows provides built-in menus that allow you to customize performance preferences for individual software applications. Assigning high-performance profiles to demanding programs ensures your dedicated graphics card is utilized efficiently.
Additionally, enabling hardware-accelerated GPU scheduling reduces latency and improves overall rendering performance on modern monitors. This feature allows your graphics card to manage its memory directly, freeing up valuable processor resources. You can easily toggle this option within the advanced graphics settings menu of your operating system.
Do not forget to adjust your display color profile to match your monitor capabilities for accurate color reproduction. Choosing the correct color space is vital for digital designers, video editors, and gamers seeking realistic visual experiences. These minor adjustments maximize your screen potential, bringing out the best details in your digital content.
Finally, keeping your monitor firmware updated ensures complete compatibility with the latest display driver technologies. Many high-end screen manufacturers release updates that patch screen flickering and resolve connection issues with modern graphics cards. Combining firmware updates with regular driver maintenance guarantees a seamless and stable visual experience.
⚠️ Important Reminder
Always create a system restore point before updating or performing major changes to your graphics controller configurations to avoid recovery loops.
Managing multiple monitors and audio outputs
Setting up multiple screens can sometimes confuse the system display driver during the final setup steps. The operating system might struggle to identify which screen is the primary display, causing visual disorientation. Configuring your multiple screen options through display settings ensures your workspace is arranged exactly how you want it.
Furthermore, HDMI and DisplayPort connections carry both high-definition video signals and digital audio signals simultaneously. If your computer speakers suddenly stop working after a display driver update, check your default playback devices. The system may have automatically redirected your audio stream to the internal speakers of your newly connected monitor.
You can easily redirect your sound output by clicking the speaker icon on your taskbar menu. Selecting your preferred audio device from the list restores sound to your headphones or external speaker setup. This quick fix is a common resolution for post-installation audio issues related to display adapter upgrades.
If you continue to experience screen flickering across multiple displays, verify your cable specifications immediately. Using older cables with high-resolution screens often causes intermittent signal drops and distorted visual outputs. Investing in certified high-speed cables prevents these issues and ensures stable performance for all your connected displays.