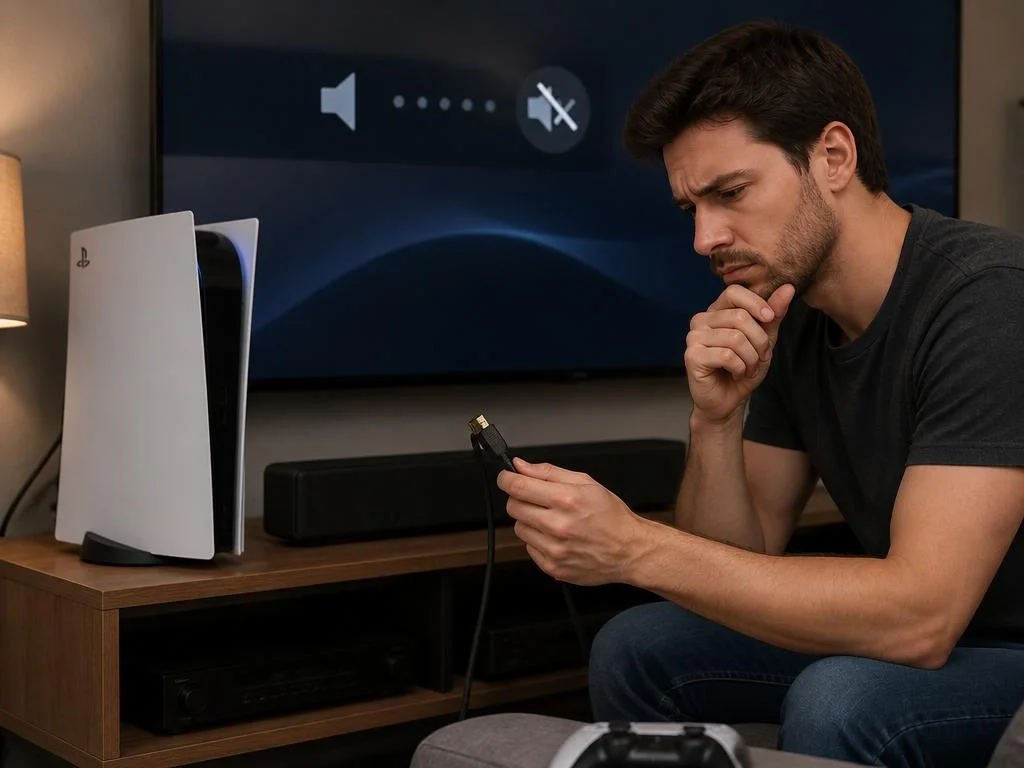
Setting up a new console is exciting until you realize the audio is completely silent or muffled. Many gamers encounter frustrating technical difficulties when they try to fix PS5 sound issues after connecting external speakers or soundbars.
These complications usually stem from incorrect settings, incompatible cables, or hardware mismatches that disrupt digital signals. Fortunately, identifying the root cause of these disruptions is straightforward once you know how the system routes its audio output. Read on to master these troubleshooting steps and restore your immersive gameplay immediately.
Modern gaming hardware relies heavily on automated handshakes between devices to establish steady communication lines. When your console fails to recognize an external speaker system, it often defaults to the integrated monitor speakers or mutes the signal entirely. This behavior can ruin your entertainment experience and leave you wondering if the internal components are damaged.
Fortunately, physical hardware failures are extremely rare, and most problems are caused by simple software oversights. By analyzing how your sound signals travel from the console to the final driver, you can easily isolate the problem. Let us examine the systematic process of diagnosing these frustrating situations to restore high-fidelity playback.
📋 Quick Audio Checklist
- Verify the current primary audio device in system settings.
- Inspect all physical HDMI cables for wear and tear.
- Disable incompatible 3D spatial settings for stereo hardware.
Many users overlook the primary system settings when configuring new hardware layouts for the first time. The console features automated detection tools, but they occasionally fail when routing through complex splitters or switchers. Learning how to manually force the correct system output remains the most reliable way to bypass these automated handshake errors.
If you continue experiencing silent menus, you should verify if your console software is fully updated to the latest build. System updates often contain essential drivers and patches designed to eliminate bugs related to third-party audio systems. Resolving these software conflicts is very similar to fixing connection errors on smart home streaming devices.
Quick troubleshooting steps for HDMI audio routing
Your console uses a single HDMI port to transmit both high-definition video and multi-channel audio simultaneously. If your display does not feature a dedicated audio return channel, the sound signal can get trapped within the screen. This common bottleneck prevents external speakers connected directly to the display from receiving any digital audio data.
To resolve this, you must access the system menu and navigate directly to the sound settings tab. From there, confirm that the primary output device is set to your HDMI device rather than standard controller headphones. This simple switch redirects the digital stream back along the proper path to reach your amplification hardware.
Selecting the correct primary output device in settings
Once inside the sound menu, you will find several adjustments that dictate how the console manages its signal processing. If the console is configured to output audio through a device that is not currently connected, you will experience complete silence. Adjusting these console audio settings manually ensures that the console targets the right output port.
Additionally, double-check that the mute button on your controller is not accidentally engaged, as this silences the entire system. This hardware-level mute function can easily confuse gamers who are focused on debugging complex wiring layouts behind their desks. Always verify the simplest physical controls before diving into deep software configurations.
Verifying physical cable connections and port integrity
Loose or damaged cables represent one of the most frequent causes of signal degradation in modern gaming setups. Over time, constant plugging and unplugging can wear down the delicate pins inside your high-speed HDMI cables. Replacing older wires with certified premium cables ensures that your digital audio streams travel without interruption or packet loss.
You must also inspect the physical ports on both your console and your receiver for accumulated dust. Dust particles can act as insulators, preventing proper electrical contact between the cable connectors and the internal circuitry. Understanding the basics of connecting to a computer port can help you clean and maintain these connections safely.
How to bypass optical port limitations on the console
Unlike its predecessors, this modern console does not feature a dedicated optical audio port on its back panel. This design choice has left many audiophiles with high-end legacy sound systems wondering how to link their gear. Fortunately, you do not need to discard your favorite optical speakers to enjoy immersive gaming sound.
The most efficient solution involves using an external HDMI audio extractor to split the signal into separate paths. This compact accessory sits between your console and display, pulling the digital sound stream out before sending the video forward. It allows you to run a standard optical cable directly to your vintage amplification system.
💡 Expert Extractor Tip
Ensure your HDMI splitter or audio extractor explicitly supports HDMI 2.1 features. Lower-tier units will limit your resolution to 1080p and disable 120Hz refresh rates.
Using an HDMI audio extractor effectively
When choosing an extractor, ensure it supports the specific video resolution and refresh rates your display requires. A cheap extractor might limit your gameplay to lower resolutions or disable key features like variable refresh rates. Investing in a high-bandwidth device preserves your visual performance while delivering clean, uncompressed audio to your soundbar.
Connect the console output to the input port of the extractor using a high-quality, certified HDMI cable. Then, run a second HDMI cable from the extractor output to your gaming television or monitor. Finally, link your optical cable from the extractor to your speakers to complete this straightforward hardware bypass.
Managing USB DAC compatibility challenges
Some players prefer using external digital-to-analog converters, commonly known as DACs, to drive their high-performance studio monitors. While the console supports USB audio, it only works seamlessly with devices that are class-compliant. If your DAC requires proprietary drivers to function on a PC, it will not work with the console.
To test compatibility, connect the DAC to one of the high-speed USB ports located on the back panel. Navigate to the sound settings and check if the device appears in the output selection dropdown menu. If it does not appear, you may need to switch the DAC to UAC1 mode if supported.
Resolving delayed sound and audio sync problems
Few things are as distracting during intense gaming sessions as sound effects that lag behind the on-screen action. This frustrating delay often occurs when your display processes complex surround sound formats before sending them to speakers. The resulting latency destroys the synchronization between your controller inputs, visual cues, and auditory feedback.
To eliminate this latency, you must look at how your system encodes the digital sound signal before transmission. Choosing a less taxing format reduces the processing overhead required by your TV or receiver, instantly restoring synchronization. Let us explore how altering these formats can quickly solve your persistent audio delay troubles.
Configuring Linear PCM versus Dolby Digital format
The console offers several audio format options, including Linear PCM, Dolby Audio, and DTS digital surround sound. Linear PCM is uncompressed, meaning it requires virtually zero processing time and completely eliminates lag in stereo configurations. Selecting this format is the best choice if you are using a standard two-channel speaker setup.
Conversely, bitstream formats like Dolby require your external audio equipment to decode the signal before playing it back. While these formats are excellent for complex multi-channel surround setups, they introduce noticeable delay on older hardware. Switch to Linear PCM in your system settings if you notice any lag during fast-paced games.
Format Comparison: Stereo vs Surround Sound
Linear PCM
Uncompressed, zero latency, perfect for direct stereo configurations.
Dolby / DTS Bitstream
Compressed multi-channel audio, ideal for advanced surround receivers.
Disabling 3D audio for incompatible stereo setups
The proprietary 3D audio technology developed for this console is designed to provide incredible depth and spatial awareness. However, this advanced processing is built specifically for headphones or highly compatible television speakers. Enabling it on standard external stereo speakers can cause the soundstage to feel hollow, distant, or completely distorted.
To remedy this, open your sound settings and locate the toggle switch for 3D audio processing. Disable this feature to ensure your console outputs a clean, balanced stereo signal to your external speakers. This simple adjustment immediately restores the punchy bass and clear mid-range frequencies of your favorite game soundtracks.
Fixing static, crackling, or distorted speaker noises
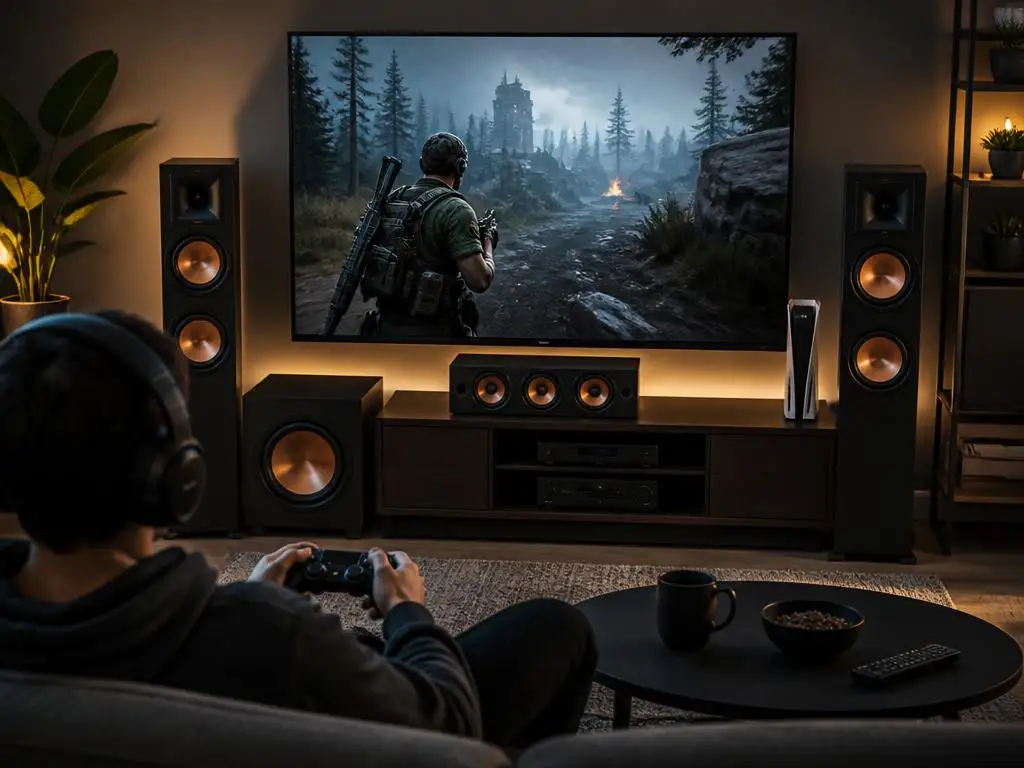
Hearing consistent static or crackling noises through your speakers can make playing games incredibly annoying and stressful. These audio artifacts are typically caused by electromagnetic interference from nearby power cables or electronic devices. Separating your audio cables from high-voltage power lines is an easy way to eliminate this unwanted background noise.
Additionally, digital distortion can occur when the output level of your console exceeds the input capacity of your amplifier. This clipping effect can damage your speaker drivers over time if left unresolved. Ensuring your digital levels are balanced is just as important as improving digital workflows in modern offices.
⚡ Reducing Electromagnetic Noise
To completely eliminate system hums, avoid wrapping power cords around analog audio cables. Keep speaker wires separated to maintain a pristine audio signal path.
Addressing Bluetooth speaker lag on modern consoles
Many players wonder if they can simply pair their favorite Bluetooth speakers directly to the console for wireless sound. Unfortunately, the console does not support native Bluetooth audio connections due to latency and bandwidth limitations. Attempting to use standard wireless connections for real-time gaming leads to unplayable delay and poor sound quality.
To bypass this limitation, you must utilize an external USB Bluetooth transmitter designed specifically for console gaming. These dongles plug directly into the USB ports and encode the sound using low-latency codecs like aptX. This setup allows you to enjoy wireless freedom without sacrificing the synchronization of your in-game sound effects.
Why direct Bluetooth audio transmitter dongles are necessary
A dedicated transmitter bypasses the system’s internal restrictions by presenting itself as a standard USB audio device. The console sends the uncompressed digital stream to the dongle, which handles the high-speed wireless transmission independently. This efficient digital signal transfer prevents your console’s main processor from experiencing any unnecessary performance bottlenecks.
When purchasing a transmitter, make sure your Bluetooth speakers support the same low-latency codecs as the dongle. If either device defaults to older wireless protocols, you will still experience noticeable delay during fast-paced action. Aligning these technical specifications is crucial for achieving a seamless, lag-free wireless gaming experience.
Integrating high-end surround sound receivers
Connecting your console to an audio-video receiver is the ultimate way to achieve true multi-channel surround sound. However, this advanced configuration requires precise settings to ensure every speaker channel receives the correct signal. Incorrect configurations can result in missing dialogue, silent rear channels, or muddy bass response from your subwoofer.
To achieve optimal performance, connect your console directly to one of the receiver’s high-speed HDMI input ports. Avoid routing the signal through your television first unless both devices support advanced audio return channel protocols. Optimizing these complex home layouts is comparable to scaling high-performance networks for enterprise-level data transmission.
🛠️ Advanced Surround Configuration Steps
- Set console audio output device to ‘AV Amplifier’.
- Select the matching channel count (e.g., 5.1 or 7.1 surround).
- Adjust physical speaker layouts using the interactive visual positioning map.
Correcting multi-channel speaker configuration issues
If your receiver is not producing surround sound, verify the device type setting within your console menu. Change the device type from TV or amplifier to AV amplifier to unlock advanced channel configuration options. This selection tells the system to output separate audio channels rather than a downmixed stereo track.
Once configured, you can manually select the number of speakers in your home theater setup, such as 5.1 or 7.1. The console will then calibrate the output angles to match your actual physical speaker placement. This calibration ensures that directional sound cues, like enemy footsteps, are perfectly positioned in 3D space.
Final hardware checks for flawless sound performance
After applying these software adjustments, take a moment to perform a thorough physical inspection of your entire setup. Ensure all cable connections are seated firmly within their respective ports and show no signs of physical wear. A single loose connection can cause intermittent dropouts or introducing annoying static during intense gameplay.
Additionally, keep your console and audio equipment properly ventilated to prevent thermal throttling or electrical issues. High operating temperatures can degrade signal processing chips, leading to temporary audio distortion or system instability. Keeping your hardware cool and clean guarantees reliable, long-term performance for all your entertainment devices.
⭐ Key Troubleshooting Takeaway
Always check hardware layers and switch to Linear PCM first. This resolves nearly 90% of lag, static, and silence issues with external gear.
By systematically applying these troubleshooting steps, you can conquer any sound routing challenge your console throws at you. Whether you are using vintage optical speakers, advanced USB DACs, or multi-channel surround sound receivers, a flawless setup is within reach. Enjoy the deep immersion and competitive advantage that only perfect, lag-free audio can deliver.
